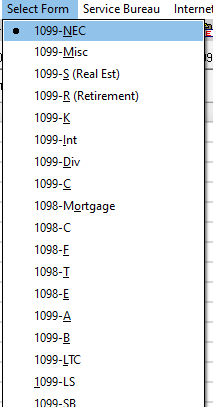
| Step 1 - Select the correct Form Type in 1099Express BEFORE opening the Wizard. |
 |
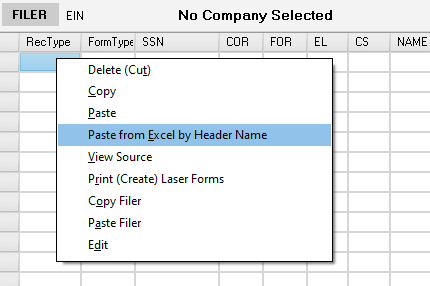
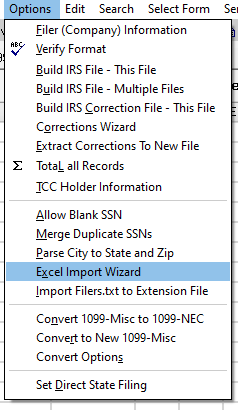
| Step 2 - Go to Options and click on Excel Import Wizard from the drop-down menu. |
 |
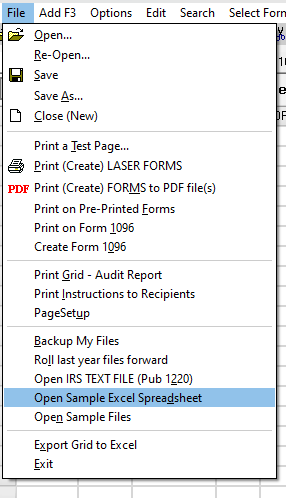
Step 3 - Open an Excel spreadsheet from the Wizard.
- Click the 1. Open Your Excel Spreadsheet button in the WIZARD, then browse to select the Excel spreadsheet to open it.
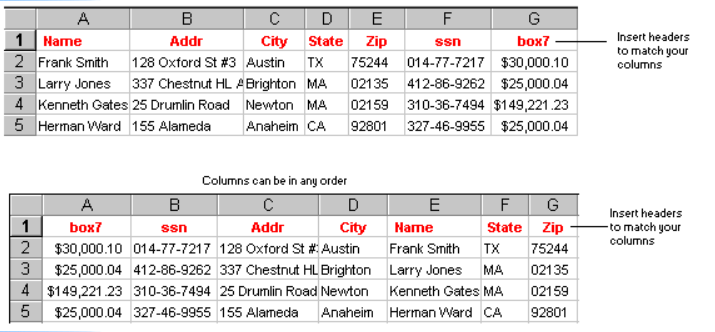
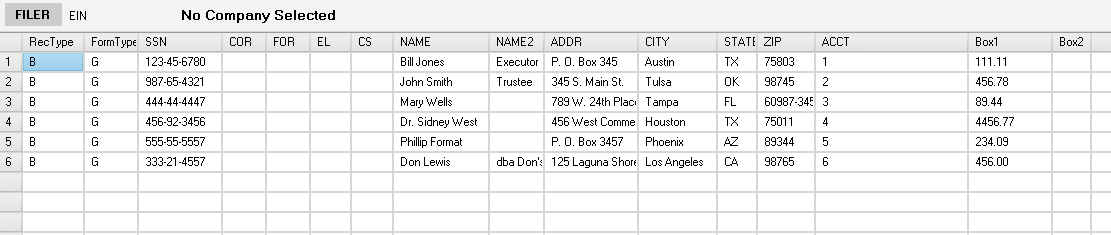
- The Excel Spreadsheet should include payee information columns in any order such as SSN (or EIN), Name, Address, City, State, Zip and various money amounts.
- The Excel spreadsheet may have additional columns that are not needed but do not have to be removed.
|
 |
Step 4 - Map the Excel Columns.
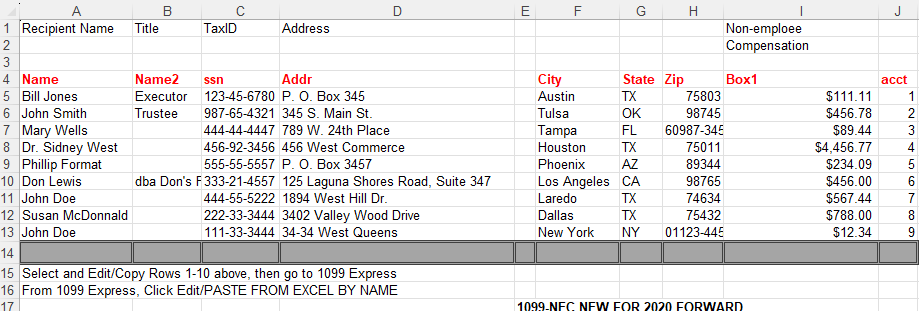
- Place an "Excel column letter" (Ex. A, B, c, aa, BB, etc. under the words SSN, NAME, NAME2, ADDR, CITY, etc.)
- For example, if the Payee Names are in Column C then, put "C" under NAME, payee's TaxIDs (EINs or SSNs) are in Column G, then
put the letter "G" under SSN and so on.
|
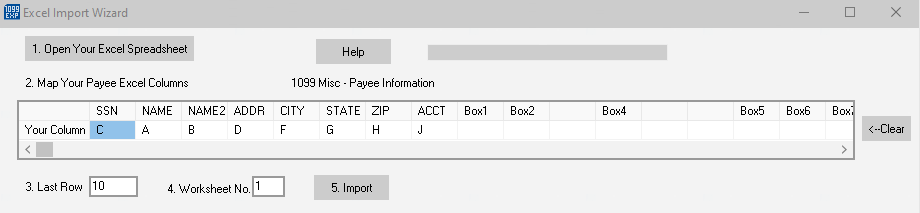 |
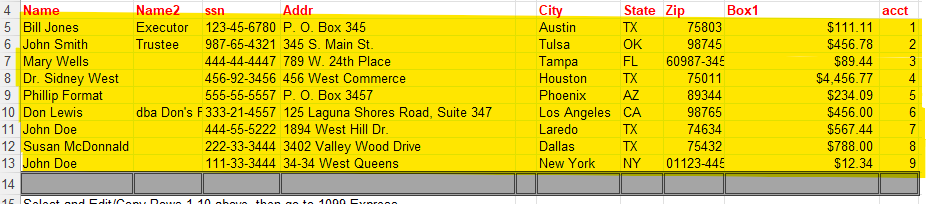
Step 5 - Enter the number of the Last Row.
- Enter the number of the bottom row in your Excel spreadsheet.
|
 |
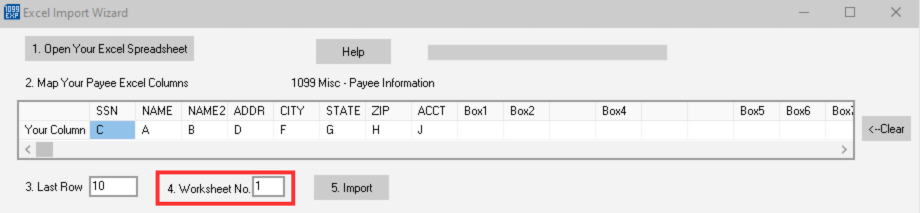
Step 6 - Enter the Excel Worksheet Number.
- The leftmost worksheet (tab) is Sheet1, then next is Sheet2, etc.
- The import will fail if you do not choose the correct worksheet number.
|
 |
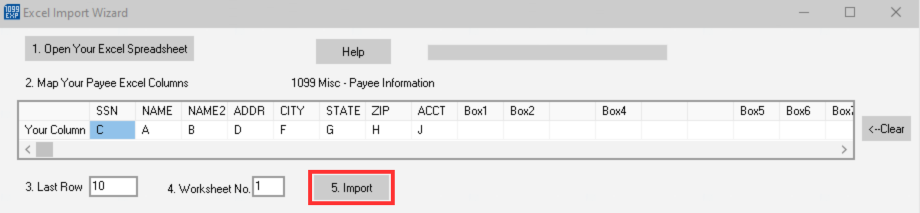
Step 7 - Click Import.
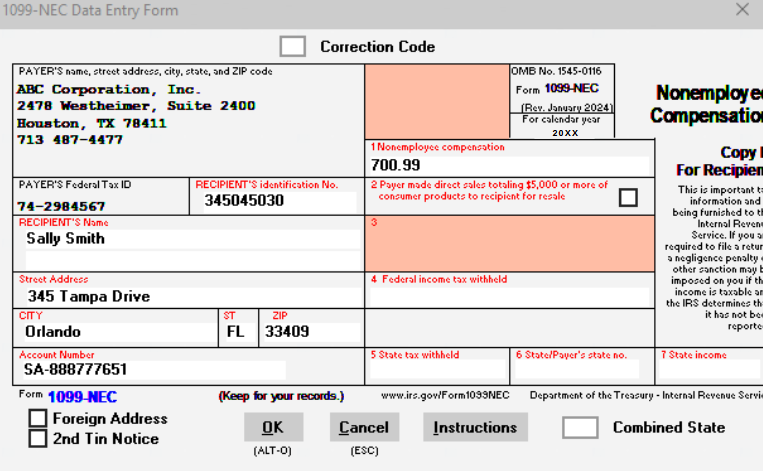
- The spreadsheet data will be imported into the 1099 Express grid.
|
 |