
QuickTour ⚐ For New Users, please refer to our QuickTour manual below.
Installing the Program
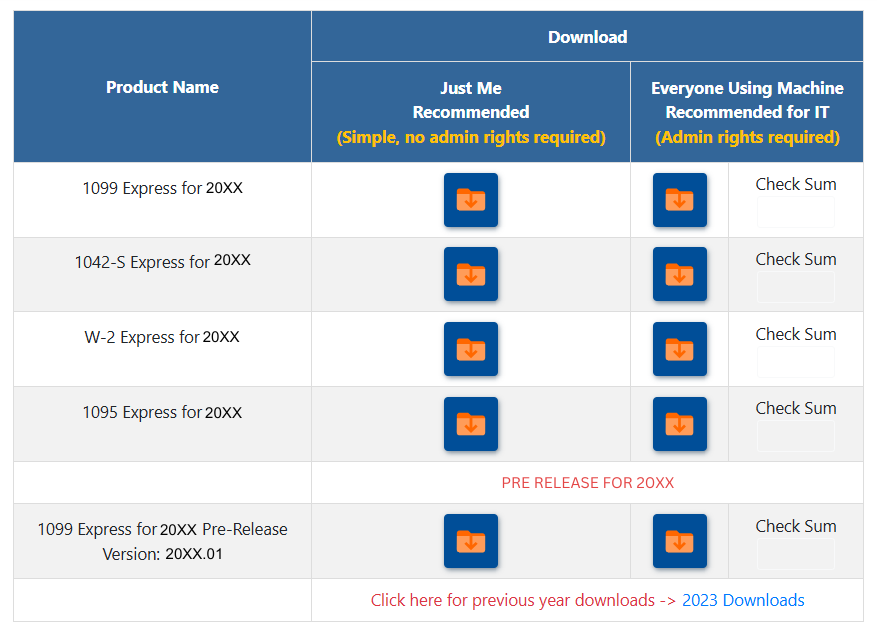
To download the latest version of the 1099 Express program, go to the Products & Downloads page on our website.
Once on the "Downloads" page, please select a software option (as seen below).
Click the 'Folder' icon to download the program onto a User's PC.
Please make sure that the program is downloaded on the right PC/Workstation before 'Activating' the program.
This is the real program. It is not a demo. It should be used for testing before purchase.
There is no obligation. If you decide to purchase, it can be "Activated" after payment by using the Invoice Number received upon purchase.
1099 Express has a Secure "Signing Certificate" and is used by thousands of customers. The program is safe to download and install.
See a list of some of our customers at the bottom of our home page.
Download Types
|
 |
Step by step downloading instructions
| 1.) Select the download version needed by clicking the folder icon. | 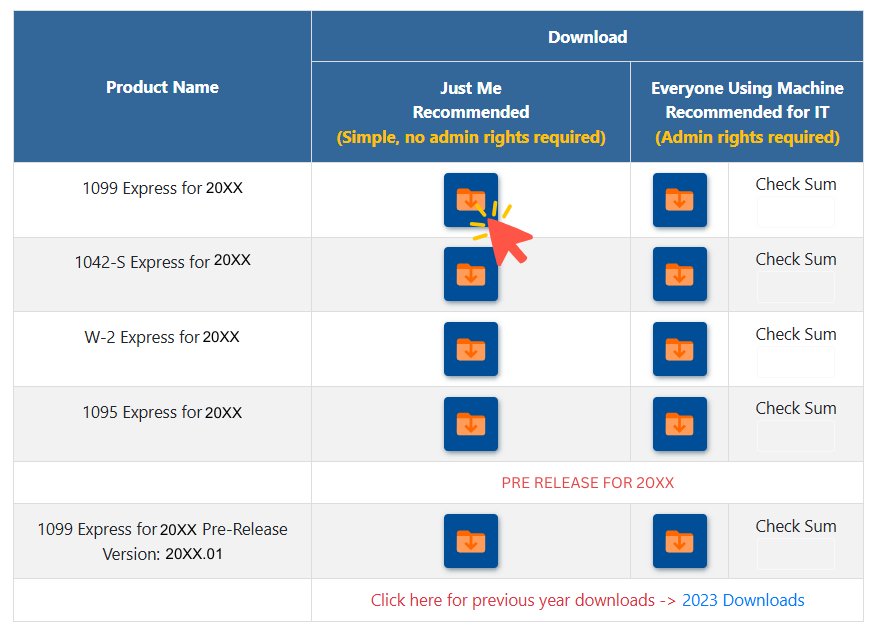 |
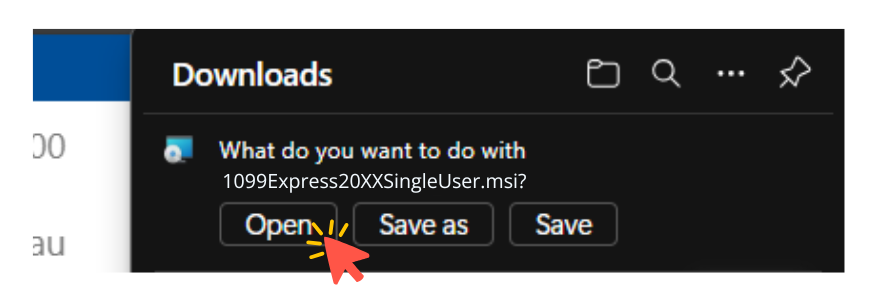
| 2.) The file will begin to download and can be found in your
browser's recent downloads or at the top right of the browser's screen. Select either 'Open' or 'Save'. |
 |
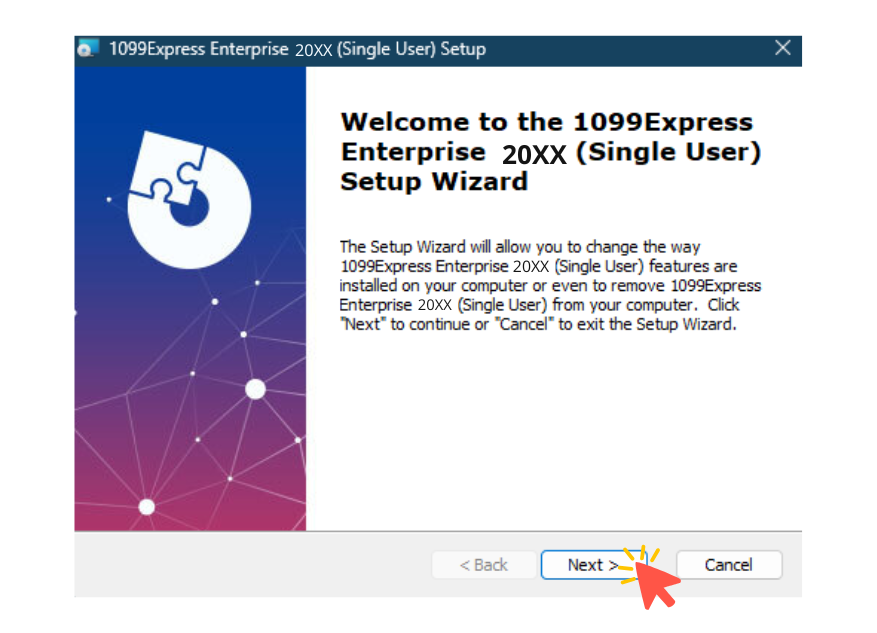
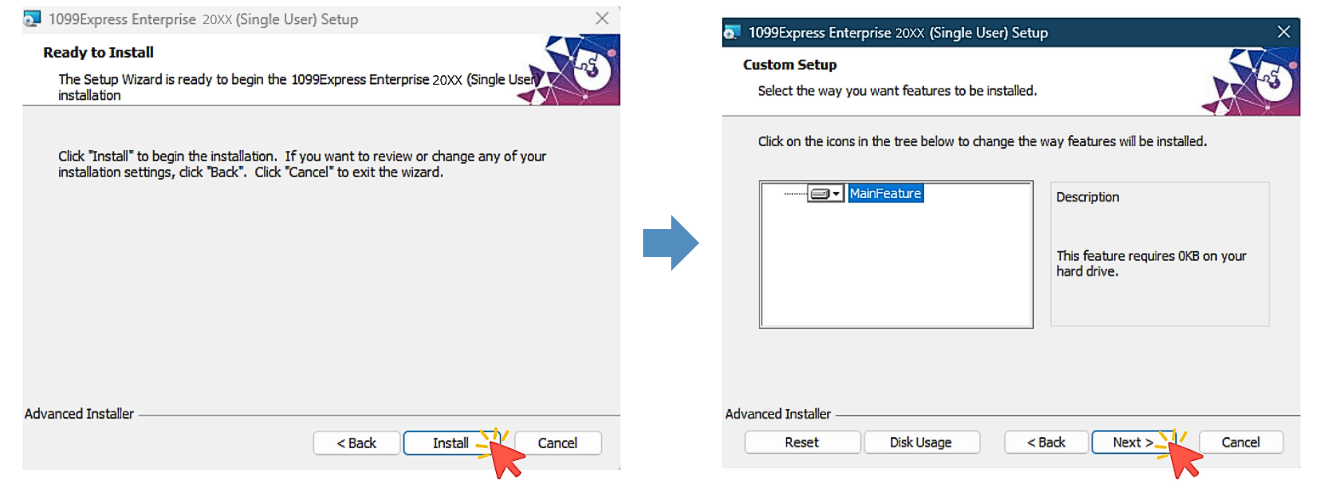
| 3.) Once opened, an installation screen will open to initiate the
installation process. Click 'Next >' to proceed. |
 |
4.) Continue through the following prompts to complete download.
| 5.) Once the installation is complete, click 'Finish'. | 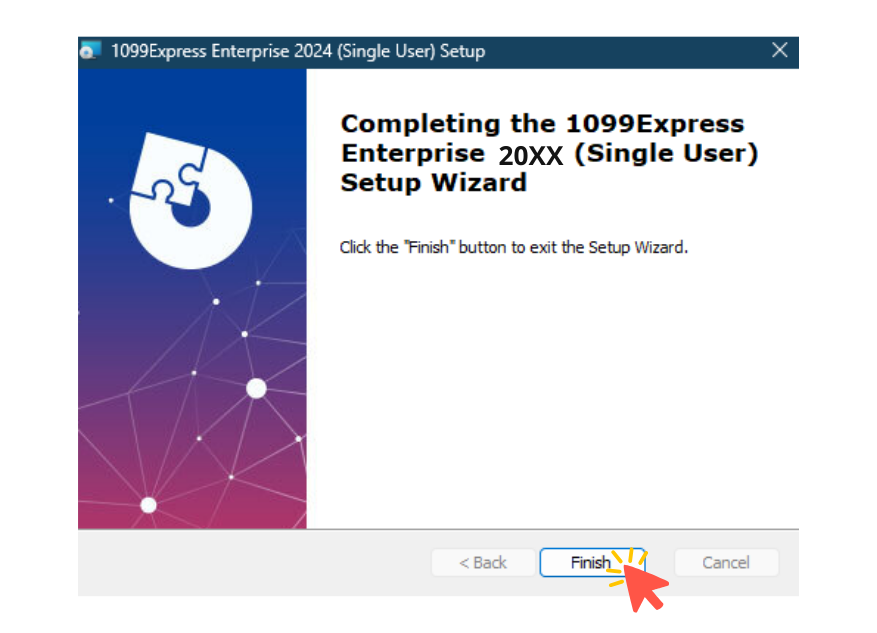 |
 |
Activating the Program
| The program offers two activation methods. |
|---|
|
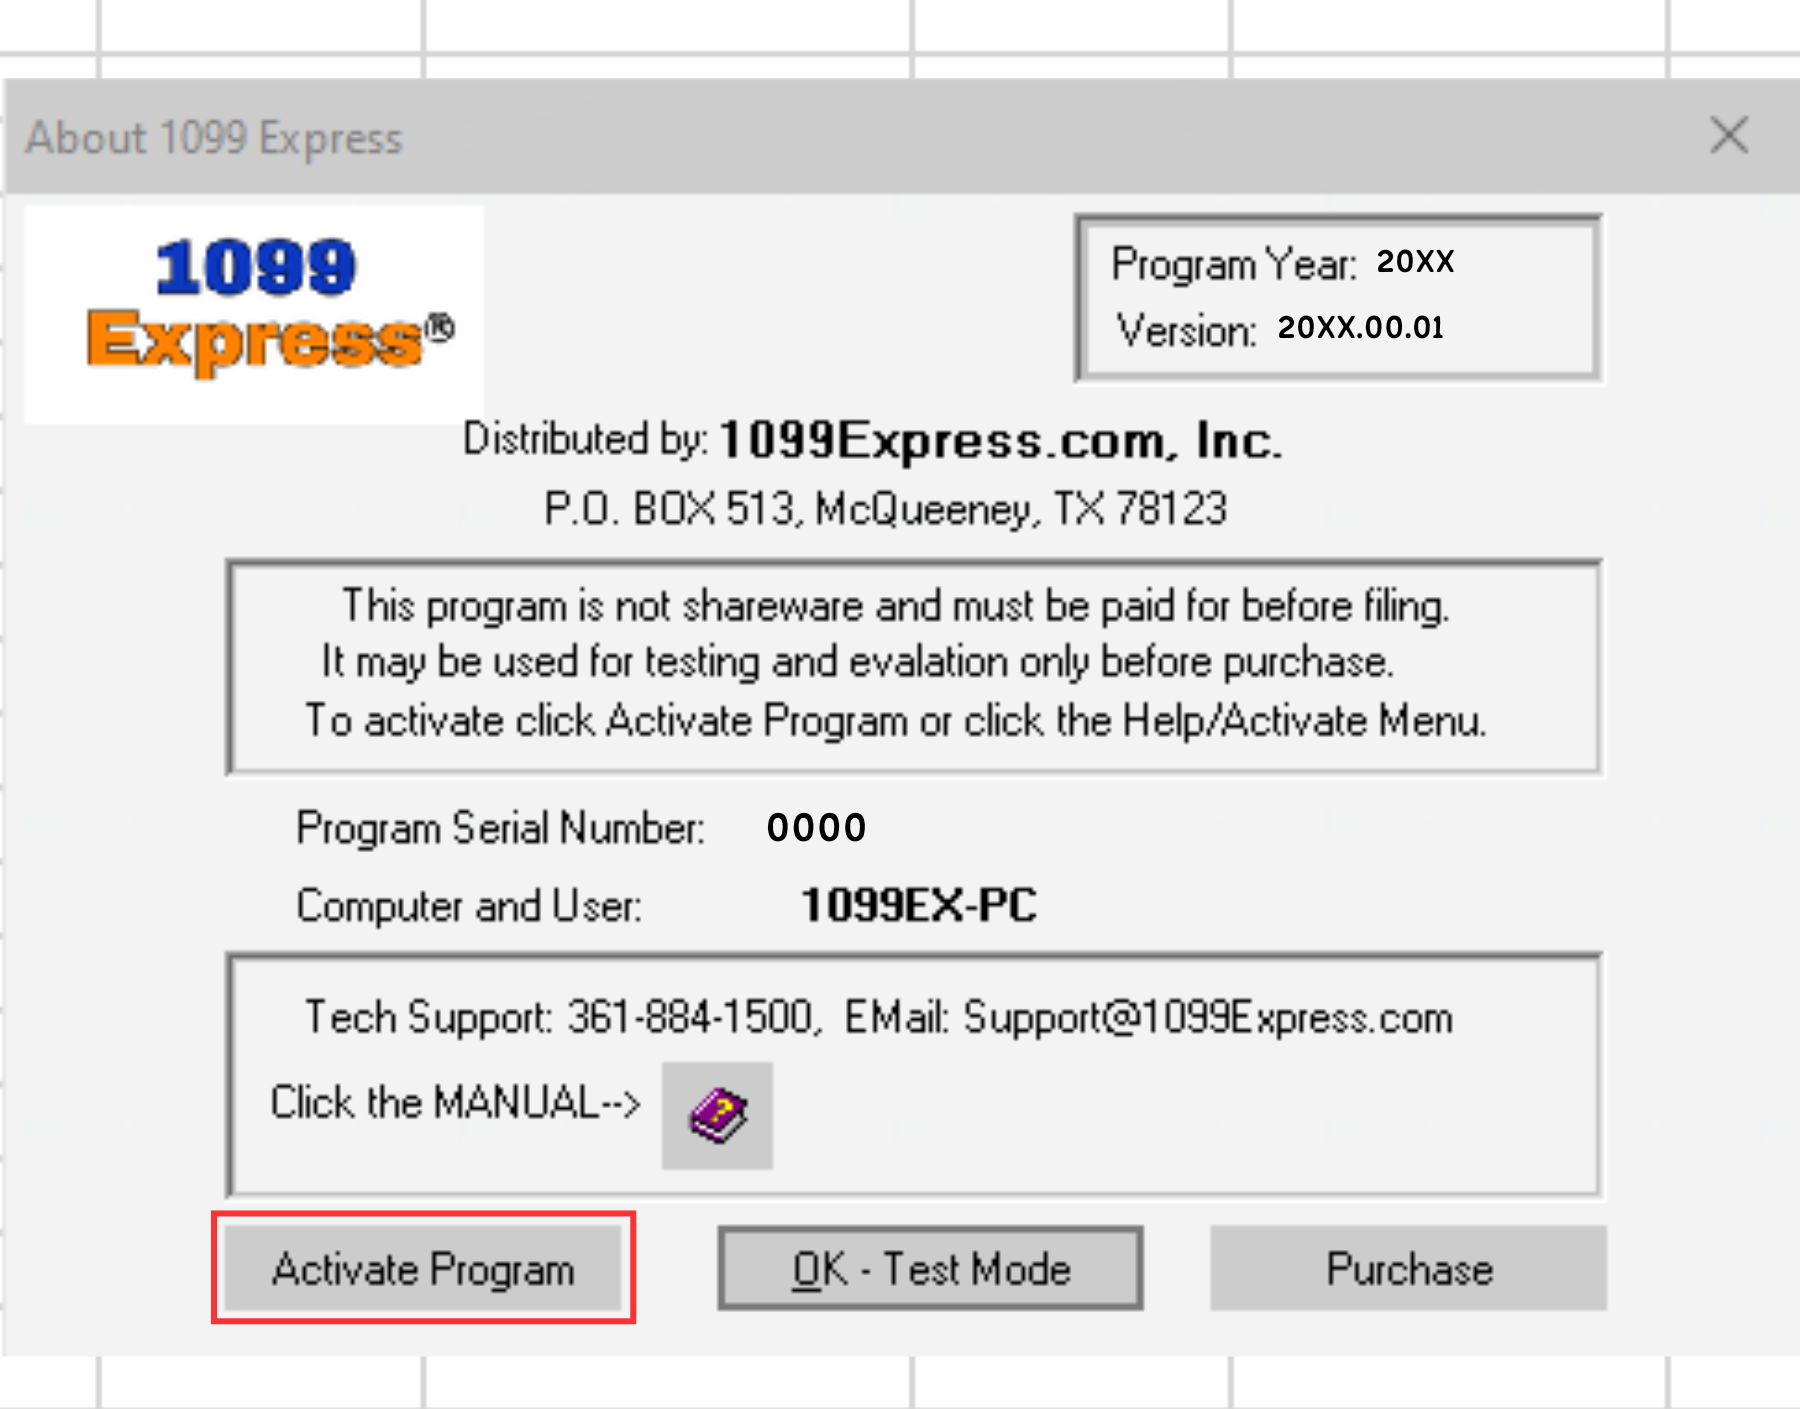
First Method:
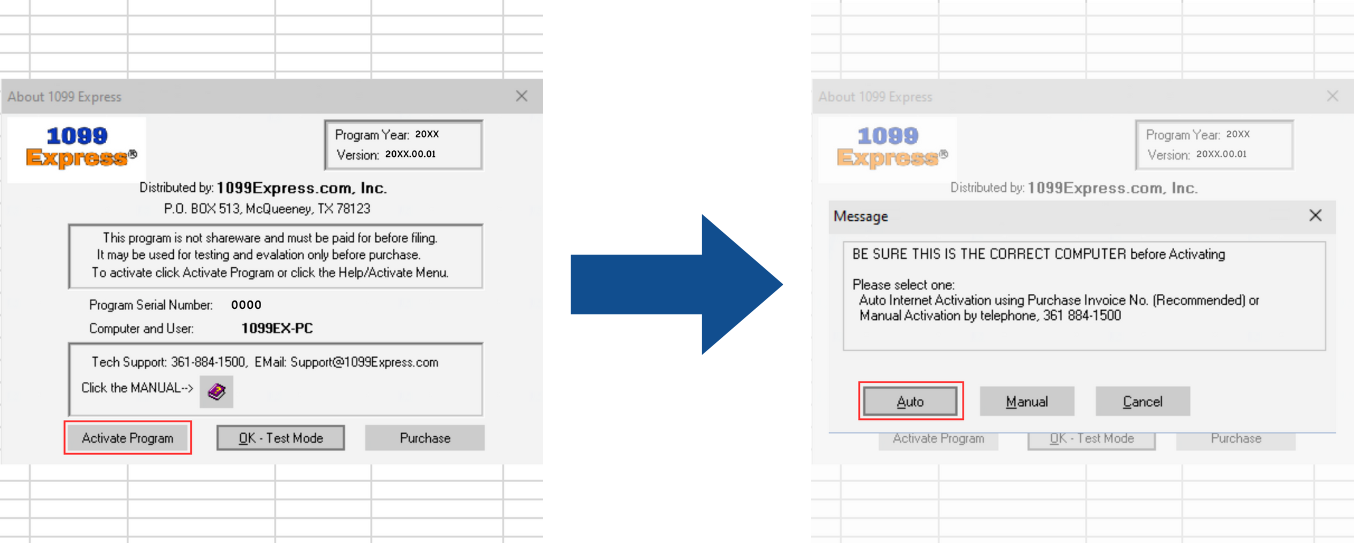
After installing and opening the program, select the Activate Program button. |
 |
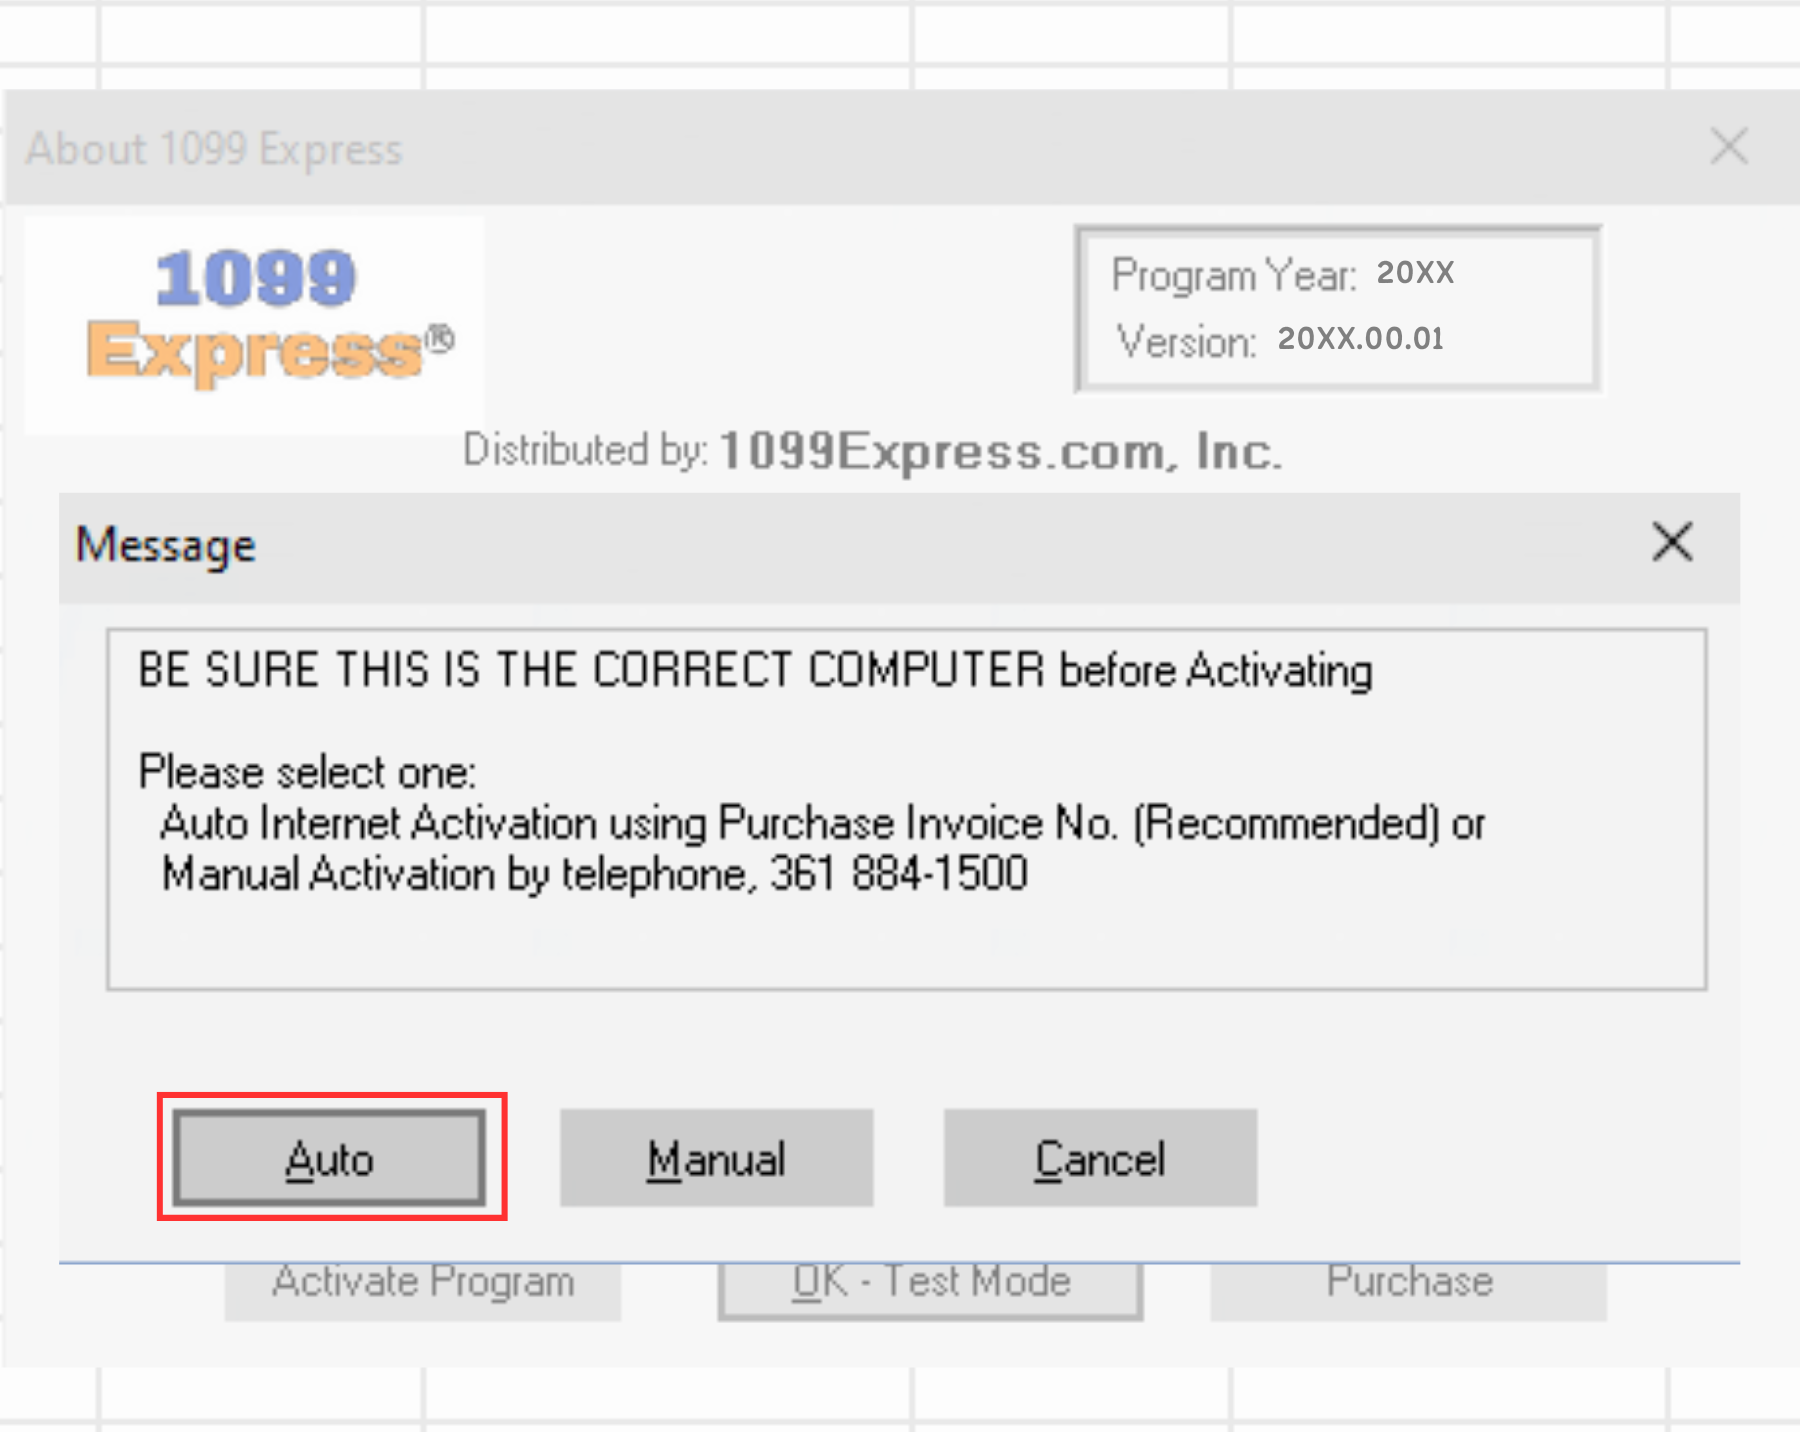
| A window will populate with the options Auto, Manual and Cancel.
Users who have purchased the program should select the 'Auto' option. |
 |
| A new text window will appear, enter the paid invoice number (Ex. Z010220056) then click Ok. | 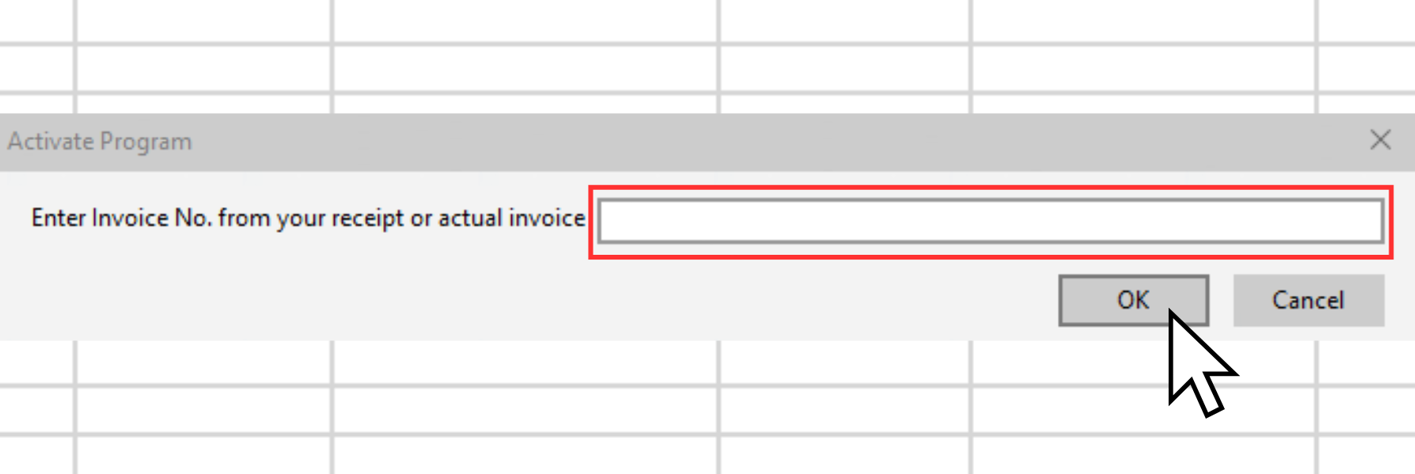 |
| A new pop-up window will appear stating the program is activated. | 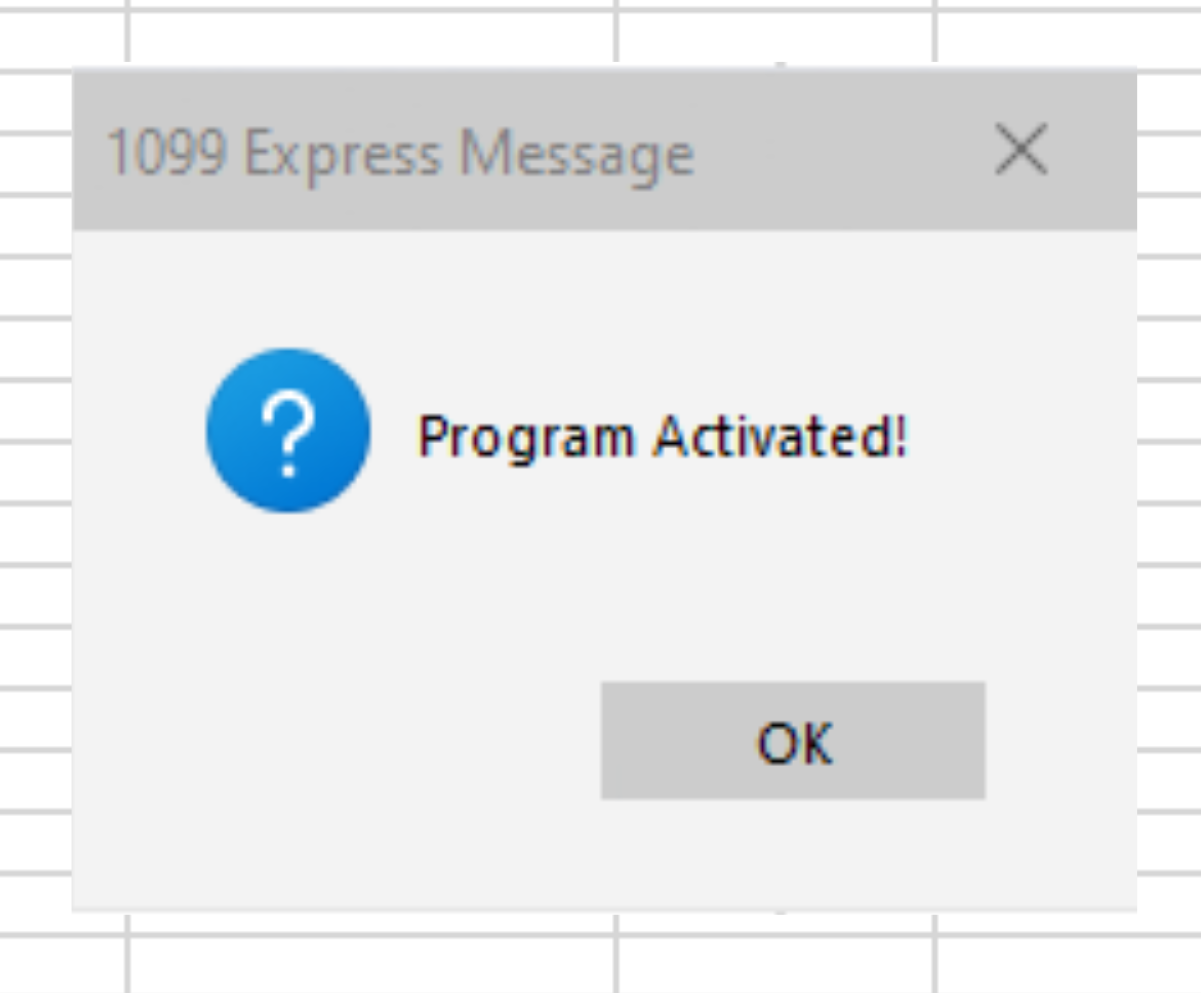 |
|
Second Method
Open the 1099Express program and select the Help menu at the top of the program. |
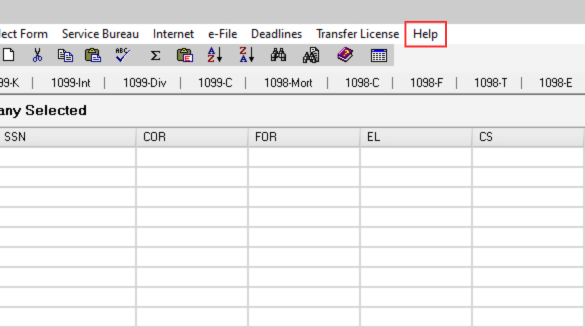 |
| Select the Activate option from the drop-down menu. |  |
Click the Acvivate Program button then the Auto option.
| On the text window enter the paid invoice number, and click OK. [Ex. Z010220056] | |
Entering Data
| Once the program is activated, users can begin manually entering data. |
|---|
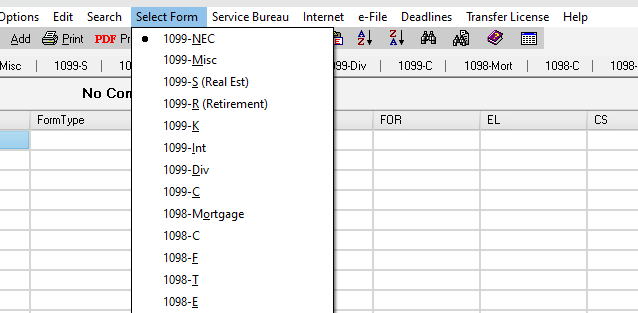
| Start by selecting a form type from the 'Select Form' menu located at the top of the program. |
 |
| After selecting a form type, click the 'Add F3' menu and then select 'Add a Payee Record (F3)' from the dropdown options. | 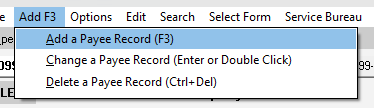 |
| A form window will populate, enter the information as needed then select OK. |  |
Importing Data
To import data click the 'File' menu on the top left of the program, then select the
'Open Sample Excel Spreadsheet' option from the drop-down box.
A window will populate with a sample excel spreadsheet with all required headers.
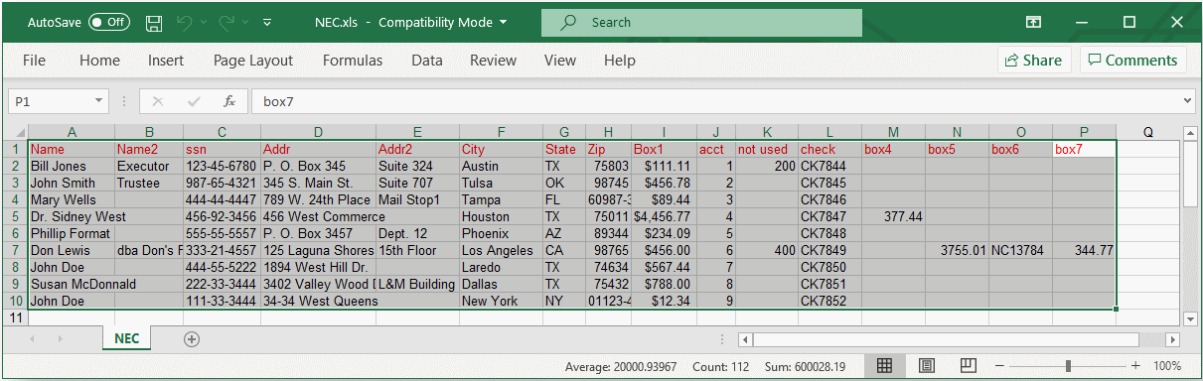
| Once Excel is open, right click on the highlighted
part of the Excel Grid and choose 'Copy'. Navigate back to the 1099 Express program, and select 'Edit' and choose 'Paste from Excel by Header Name' from the drop-down list. |
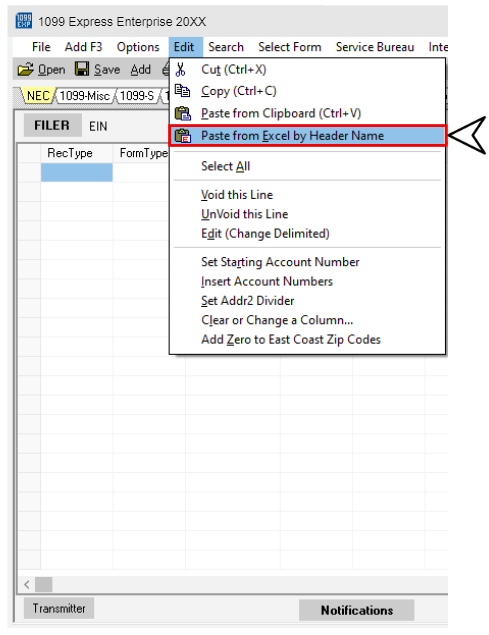 |
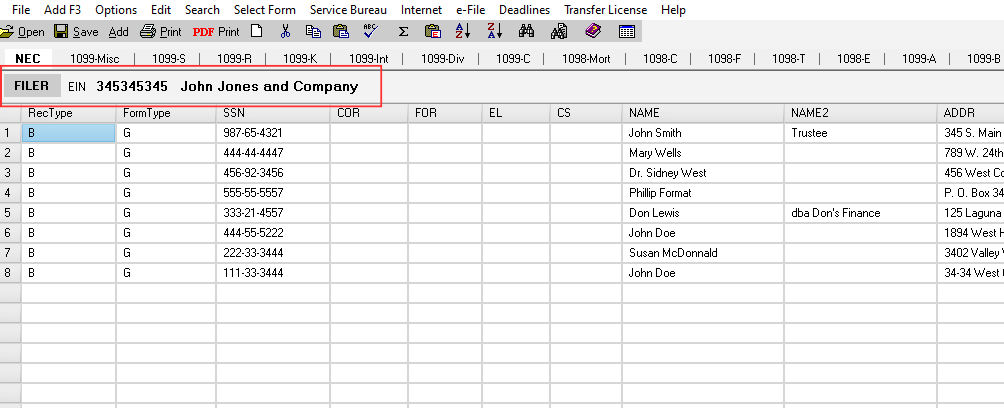
All data from the Excel spreadsheet should be entered and sorted into the 1099 Express grid (See image below).
For further instructions on how to import data from Excel, please refer to Importing From Excel.

Entering Filer(Company) Information
| To add the Filer information, start by selecting the 'Options' menu on the top of the program. |
|---|
| Select the 'Filer (Company) Information' option on the top of the dropdown list. | 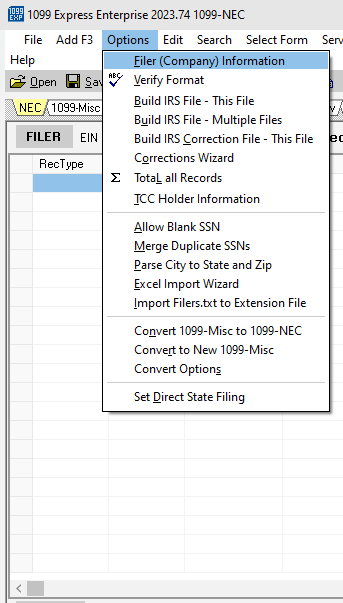 |
Fill-out the required feilds from the Company/Filer Information box.
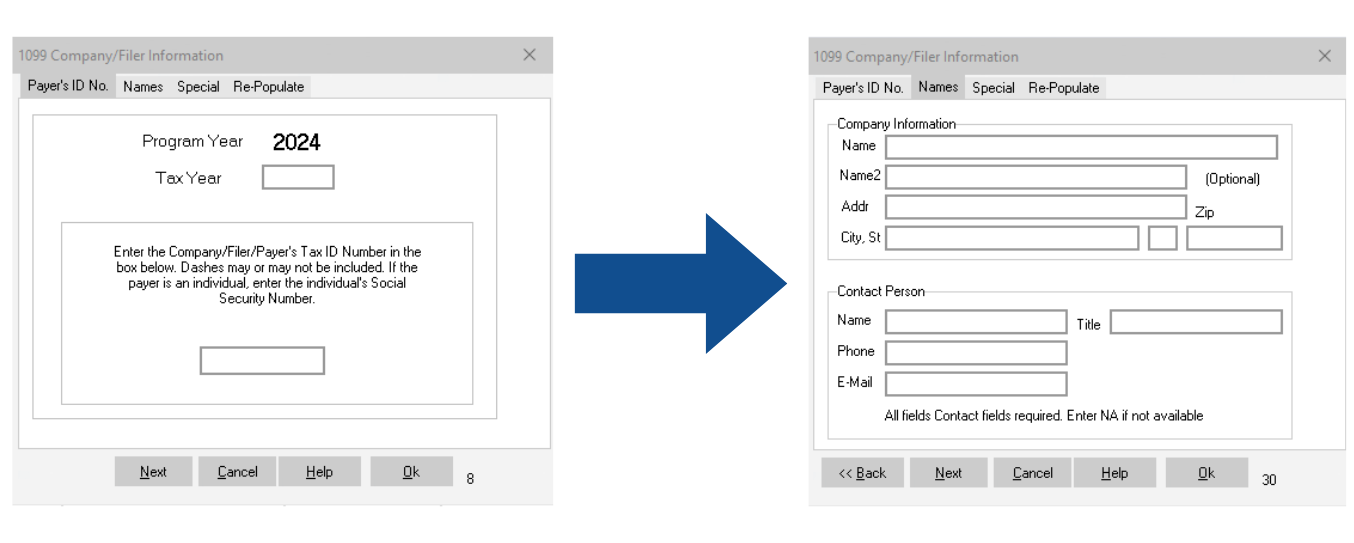
| After all feilds are entered, click OK.
The Filer information can be seen at the top left of the program along with the company's EIN. |
 |
Saving a File
A file cannot be saved in 'Test Mode' however a user may continue to save a file to test the program's functionality.
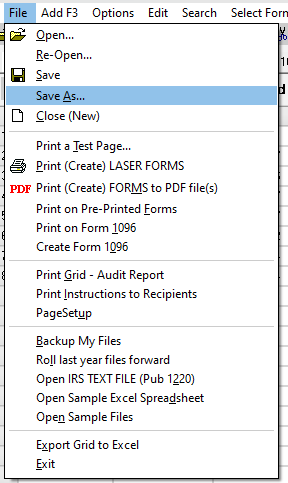
| If the program has been activated, click the 'File' drop-down menu on the top left,
then click the 'Save As' option from the list. |
 |
| Save in the default folder known as E20XX / MYFILES
(The 'XX' replacing the year of the program and the tax year). Alternatively, a user may save in any folder needed to save the files created from the 1099 Express program. |
 |
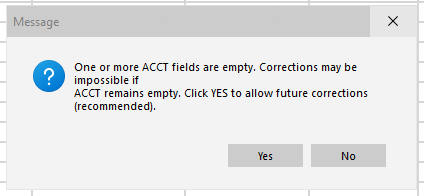
| If the program requests 'Account Numbers' to be added, please choose 'Yes'.
The program will auto-populate 'Account Numbers' for all recipients within the grid. |
 |
Editing Forms and Correcting Errors
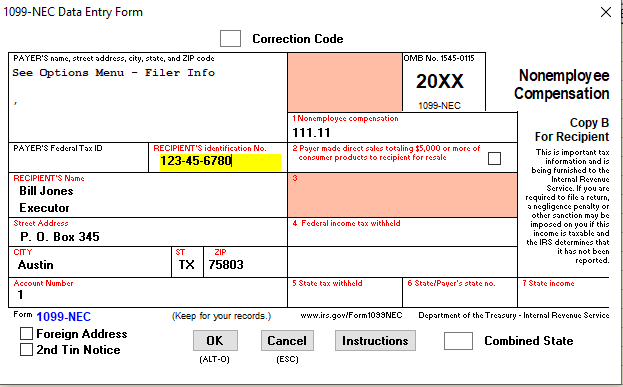
- With the data still within the yellow grid, double click on one of the rows.
- A pop-up window with a '1099 Data Entry Form' will appear.
- Any data labeled with a 'RED' header can be adjusted. Click into the money amounts box and change the amounts or change any other data.
- Once the entry has been changed the User can click OK to save the changes.
- Changes will appear in the grid.
For more information on creating a Correction Files see: Creating a Correction File
e-Filing to the IRS
To build an IRS file see e-Filing to the IRS for further instructions.
| For breif instructions: |
|---|
| Click the 'e-File' tab at the top-right of the 1099Express program. |
| Select the 'How to e-File' option from the list. |
| A step-by-step process on how to 'e-File' using our software will populate.
⚠ Please note this method will require a Transmitter Control Code [TCC] and will require the file to be built to be sent directly to the IRS FIRE Site. |
| e-Filing to the IRS is free as long a a TCC (Transmitter Control Code) has been acquired by the user. |
For using 1099Express's e-Filing services see: e-Filing through the Service Bureau
Other Topics
| 1099 Express has been e-filing with the IRS since 1989 and has never incurred a penalty for an e-File error. Furthermore, 1099 Express has been recognized as an IRS quality supplier since 1996. |
| Our support team is in the USA and are experienced in IRS compliance issues. If assistance is ever needed, please Contact Us. Our team is always here to help! |
We re-populate the 'Jones and Company' sample file because:
|
We ask that Account Numbers be added to the file because:
|