Installing any of 1099Express' programs is very simple, however, sometimes you will need the assistance of your IT division to install the software for you.
Below is a step by step process of installing our software on a Windows 10 machine, however, the process is the same for a Windows 7 or 8 machine as well.
1099Express' programs are only compatible with Windows Operating Systems.
Step by step Installation Instructions:
- If you haven't already, download the version of our software that you want to try or have purchased.
- Now navigate to where the downloads are saved which is normaly your user's 'Downloads' folder (start from your 'C' drive then navigate to '\Users\<UsersName>\Downloads'). On Windows 10 you can naviagte to 'This PC' -> 'Downloads'.
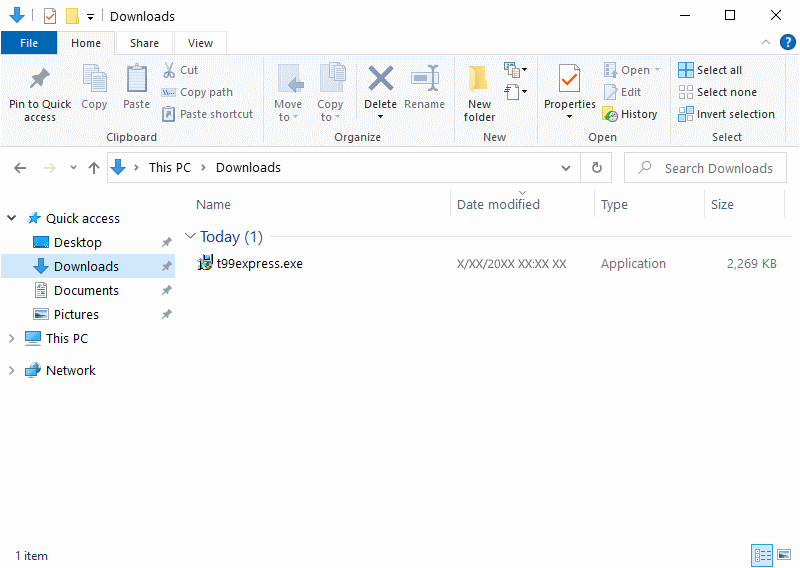
-
Once you have located the program installer, double click the installer (using the left mouse button, click twice in quick succession).
The installer should highlight and after a few seconds (depending on your computer's hardware and what programs you have open in the background) the User Account Control (or admin permission) should appear.
Select 'Yes' to allow the program to install on your computer. Our software needs this permission so that it can install into your root directory on you boot drive (Windows defaults to your 'C' drive).
This is done to allow for easy access to files that you create with our software.
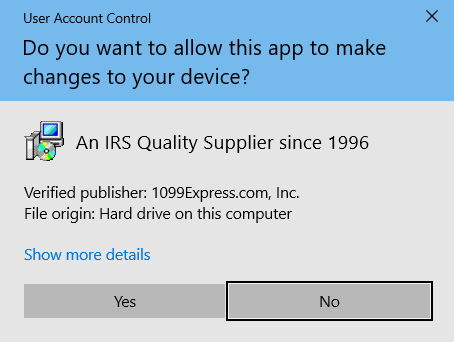
- After a few seconds, the Installation Wizard will appear on your screen.
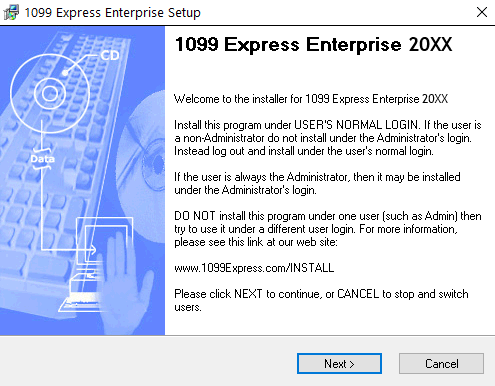
- Follow the instructions on the Installation Wizard.
- Once the intallation process is complete you will see the program installed successfuly. At this point you may now click the 'Finish' button at the bottom of the Installation Wizard.
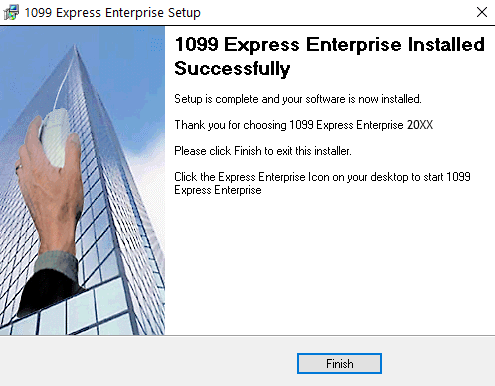
- At this point, your 1099Express program is now installed are ready to go. You can launch the software by double clicking the shortcut that is on the desktop.


